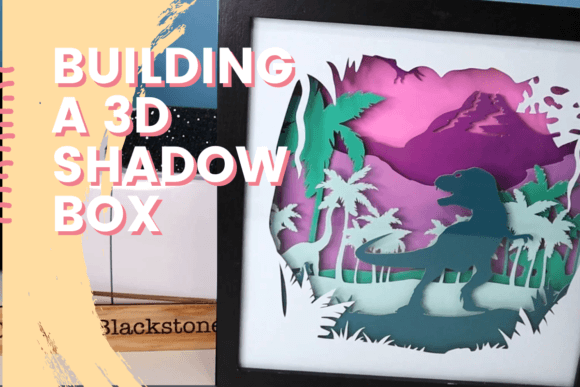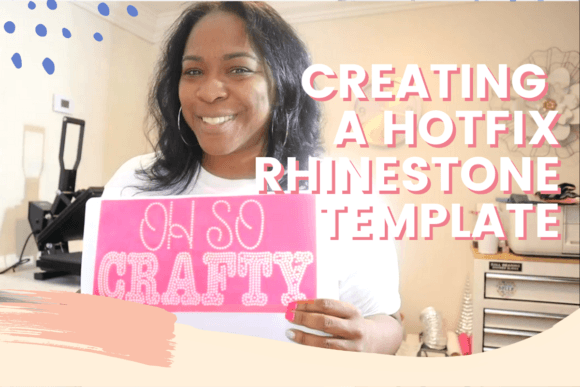
How to Create a Hotfix Rhinestone Template
Adding a touch of sparkle to your projects isn't just about aesthetics; it's about creating a tactile, high-value experience that elevates your brand or personal craft. Whether you're designing custom apparel, personalizing accessories, or creating standout merchandise, the ability to produce your own hotfix rhinestone templates is a game-changer. It moves you from being a consumer of pre-made designs to the creator of bespoke, dazzling art. This guide, inspired by the practical techniques taught by Patrice of Craftable Things, will walk you through the process, focusing on the real-world skills you need to get started.
The Anatomy of a Custom Rhinestone Design
Before diving into the "how," it's crucial to understand the "what." A hotfix rhinestone template is essentially a stencil or a negative space cut from a durable material, most commonly a thick, adhesive-backed mylar or a specialized stencil film. Its visual characteristic is precision; each tiny circle or shape cut out corresponds exactly to the placement of a single rhinestone. The personality of this template is one of meticulous order—it's a map for your sparkle. The overall appeal lies in its dual nature: it's both a functional tool for production and a piece of art in its own right, showcasing the intricate pattern you've designed.
The style of templates you create can range from elegant script fonts for wedding monograms to bold, geometric patterns for sports team logos. This versatility is what makes the skill so valuable across different industries. For a graphic designer, it's a way to translate a digital vector illustration into a physical, textured product. For a small business owner selling custom tees, it's the key to consistent, professional-quality applications that command a premium price. The process itself—designing, cutting, weeding, and applying—has a satisfying, hands-on personality that digital-only creation can't match.
From Digital File to Physical Stencil: The Step-by-Step Process
Creating your own template is a straightforward process that bridges digital design and physical crafting. Here’s a practical breakdown of the steps involved, moving from concept to a ready-to-use stencil.
- Design or Source Your Artwork: Start with a simple, bold design in a vector program like Adobe Illustrator, or even a dedicated crafting software like Cricut Design Space or Silhouette Studio. For text, choose a display font or script font with clear, distinct letterforms. Avoid overly thin or intricate details that will be difficult to cut and fill with stones. This is where understanding font pairing can help; a bold sans serif word paired with a flowing script name can create visual hierarchy.
- Prepare the File for Cutting: In your software, you'll need to convert your design into a cuttable outline. This often involves using a "trace" function or manually creating the stencil shapes. The key is to create the negative space—the holes where the rhinestones will sit. Ensure your design is sized correctly for your final project, whether it's for web design mockups or a physical packaging design element.
- Cut the Template Material: Using a craft cutting machine like a Cricut or Silhouette, load your stencil material (like Siser's EasyWeed Stencil Vinyl or a dedicated rhinestone template material). Send the file to cut. The machine will precisely cut out the tiny circles or shapes of your design. A test cut on a scrap piece is always a wise first step to calibrate blade depth and pressure.
- Weed the Negative Space: "Weeding" is the process of removing the cut-out pieces from your stencil material, leaving behind the holes. This is where your design truly emerges. Use a weeding tool to carefully lift and discard the tiny bits of material. The result is your finished template, ready to be filled.
This hands-on approach gives you complete control, allowing for rapid prototyping and customization that is essential for brand identity work or one-off creative projects.
Practical Applications and Strategic Considerations
Knowing how to create the template is half the battle; understanding where and how to use it effectively is what unlocks its full potential. The applications are vast, spanning personal hobbies to commercial ventures.
- Apparel and Merchandise: This is the most common use. Apply shimmering logos, names, or graphics to t-shirts, hoodies, hats, and bags. For entrepreneurs, this skill transforms your product line, allowing you to offer customizable items without huge minimum orders.
- Paper Crafts and Stationery: Add dazzling accents to greeting cards, invitations, and scrapbook pages. A monogram created with a hotfix rhinestone template on a wedding invitation adds a luxurious, personal touch that printed design assets cannot replicate.
- Home Decor and Accessories: Personalize picture frames, phone cases, or even create wall art. The tactile quality of rhinestones adds a dimension of interest to flat surfaces.
- Event Branding: For conferences, galas, or product launches, custom rhinestone decals on signage, lanyards, or gift bags create memorable, high-end takeaways that reinforce professionalism and attention to detail.
When evaluating a design for template creation, consider the readability and visual hierarchy. A complex, multi-line quote might not work, but a strong, single-word mark or a simple icon will. Think of the rhinestones as a premium font for physical objects—they are best used for impact, not for body text. Always test your template with the actual rhinestones you plan to use. Stone sizes vary (SS6, SS10, SS16, etc.), and your template holes must match perfectly. Finally, for any commercial use, ensure your original design elements—whether they are illustrations, handwritten fonts, or other graphics—come with a commercial license that permits physical end-product creation.
Mastering the creation of hotfix rhinestone templates is more than a craft; it's a practical skill that blends design thinking with hands-on production. It empowers you to add a unique, valuable dimension to your work, whether you're building a brand identity, enhancing your editorial design, or simply creating something beautiful for yourself. Start with a simple design, follow the process, and watch as your ideas transform into sparkling reality.