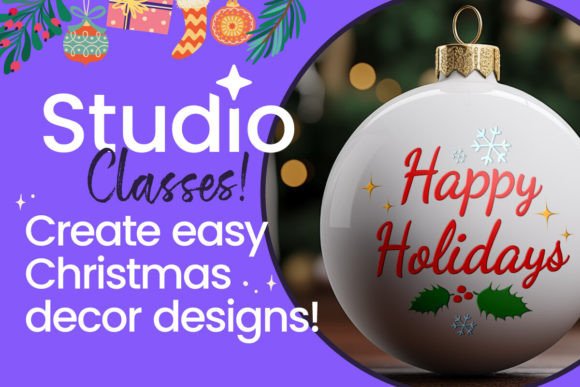
Crafting Holiday Magic: A Studio Guide to Ornament Design
The scent of pine, the twinkle of lights, and the delicate weight of a cherished ornament in your palm—these are the textures of the holiday season. While store-bought decorations are lovely, there's a unique magic in creating your own. This year, move beyond the ordinary and design Christmas ornaments that tell a story. Whether you're a seasoned crafter or picking up your first glue gun, our Studio tutorial is your guide to transforming simple materials into personalized heirlooms. It’s about more than just decoration; it's about making a mark, adding a layer of brand identity to your home's holiday narrative.
Understanding the Anatomy of a Handmade Ornament
Before you dive into glitter and paint, a moment of planning elevates a craft project into a piece of design. Think like a designer. What is the core personality of your ornament? Is it rustic and cozy, sleek and modern, or whimsical and playful? This foundational concept will guide your material and technique choices. A minimalist, geometric ornament made from stained wood has a completely different visual weight and appeal than a soft, felted character with embroidered details. Consider the visual hierarchy—what's the focal point? A single, bold initial? A complex pattern? A splash of unexpected color?
The materials themselves are your design assets. Wood slices offer a natural, organic canvas perfect for pyrography or paint pens. Clear glass or plastic globes become miniature terrariums or vessels for intricate scenes. Felt and fabric allow for texture and softness, ideal for handwritten font-style embroidery. Even paper, when folded into intricate origami or layered into decoupage, can create stunning results. The key is to match the medium to your skill level and desired outcome. A beginner might find success with pre-cut wooden shapes and acrylic paint, while an advanced crafter could tackle delicate glass etching or detailed clay sculpting.
From Concept to Creation: A Practical Studio Workflow
Our Studio tutorial breaks down the design process into manageable steps, ensuring a satisfying and successful making experience. This isn't just a list of instructions; it's a methodology for creative execution.
- Sketch & Ideate: Don't start with materials. Start with a pencil and paper. Sketch your ornament shapes, play with layouts, and decide on a theme. Will it be a single letter for a monogram? A miniature landscape? An abstract pattern? This is where you solve the big composition questions.
- Material Selection & Prep: Based on your sketch, gather your supplies. Sand wood surfaces for smoothness, clean glass globes thoroughly, and pre-wash any fabrics. Proper preparation is the unglamorous but essential foundation of a professional finish.
- Transfer Your Design: Use graphite transfer paper, a lightbox, or freehand drawing to get your design onto the ornament base. For complex patterns, consider using a stencil cut from cardstock or a vinyl cutting machine for crisp, clean lines.
- Apply Color & Texture: This is where your ornament comes to life. Layer acrylic paints, use fine-tip markers for detail, apply glitter with adhesive, or sew on sequins and beads. Work in layers, allowing drying time between applications to prevent smudging and build depth.
- Finishing & Sealing: The final step is protection. A clear matte or glossy sealant spray will protect your artwork from dust, moisture, and handling, ensuring it lasts for many seasons. Attach a sturdy ribbon, cord, or ornament hook.
Advanced Techniques for a Professional Touch
For those looking to push their creations further, consider integrating more sophisticated design principles. Font pairing isn't just for websites; it can inspire your ornament text. Combine a bold, blocky letter with a delicate script flourish on the same surface. Think about consistency if you're creating a set—using a limited color palette or repeating a specific pattern element ties multiple ornaments together into a cohesive collection, much like a strong brand identity.
Explore mixed media. Combine a painted wood slice with a stamped metal charm, or attach a miniature photo behind a clear ornament with a decorative border. For the truly ambitious, design a modern typography-focused ornament by carefully painting a meaningful word or quote in an elegant serif or sans serif style. The readability of your text is paramount; test your lettering on scrap material first. This level of detail transforms your work from a simple craft into a piece of editorial design for your tree.
Beyond the Tree: Applications for Your Custom Designs
The skills and ornaments you create have a life beyond your living room. These personalized pieces make unparalleled gifts. For a small business owner or entrepreneur, designing a signature ornament can be a powerful seasonal marketing tool—a physical token of appreciation for clients that reinforces your brand identity. Bloggers and content creators can document their process in a tutorial, creating engaging social media graphics and blog content that drives audience engagement.
For the designer or marketer, this hands-on project is a masterclass in tangible packaging design. You're considering how form, color, texture, and typography work together in three-dimensional space. The principles you apply—balance, contrast, emphasis—are directly transferable to logo design, web design, and print projects. It’s a creative exercise that sharpens your eye and results in a beautiful, functional object. So, gather your supplies, clear your workspace, and let the Studio tutorial guide you. This holiday season, your tree won't just be decorated; it will be curated with your own creative font of imagination and skill.